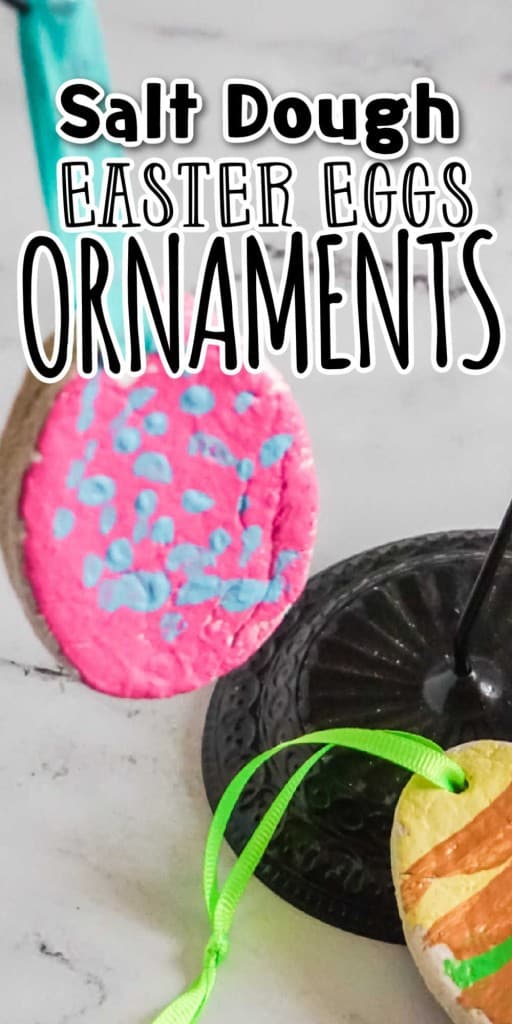

With only 3 ingredients needed to make salt dough and then creativity to design them, salt dough Easter egg ornaments are a fun and easy Easter craft to make with the kids. Once made these Easter eggs can be used as decorations year after year.
Salt Dough Easter Egg Ornaments
I love getting all crafty with the kids for holidays and I love having homemade decorations that I can pull out year after year to remember when the kids were small. My kids love crafting and making things for the holidays so holiday crafts that are also keepsakes are a win win in our house.
If you are looking for an easy craft to do with the kids these Salt dough Easter Eggs are perfect! The kids can help make the salt dough, cut out the shapes and then decorate them as they want to.
If you are looking for a great classroom Easter activity, you can make the ornaments at home and then bring them in for the kids to decorate.
Easter Craft and Activities Ideas
What is Salt Dough?
Salt dough is a modeling material that is made with flour, water, and salt that is slow-baked in the oven to harden. Once hardened can be decorated with paint. There are many uses for salt dough including making handprints, sculptures and ornaments. Once baked to dry thoroughly salt dough is hard and will last for years. It can be painted with designs and used as decorations for just about any holiday you want to. For this craft, we are making Easter egg shaped ornaments with salt dough that the kids will love decorating and showing off for years.
Uses for Salt Dough Easter Eggs
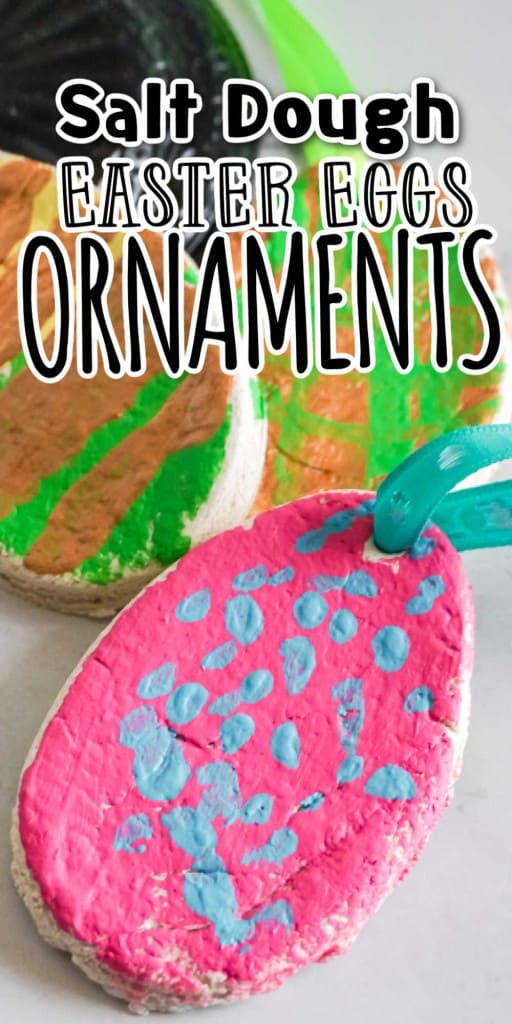
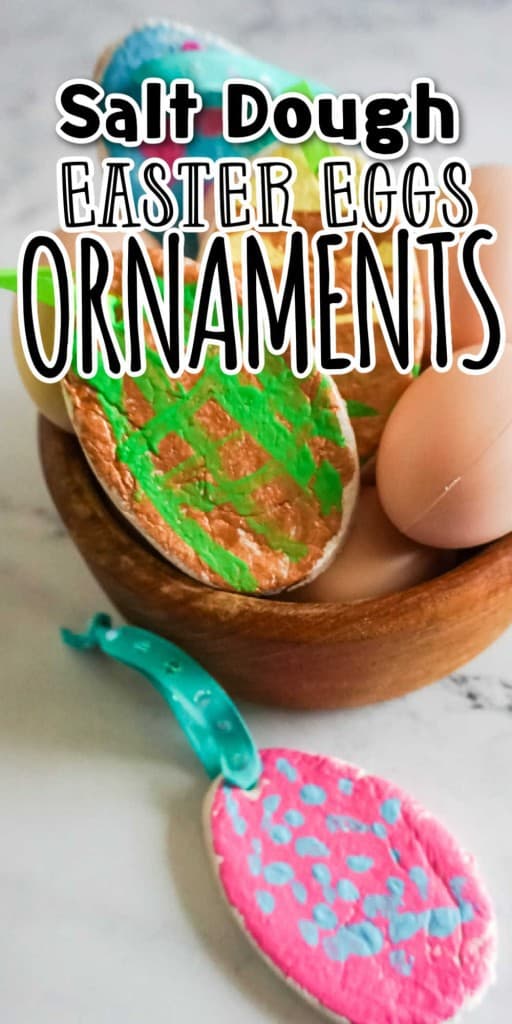
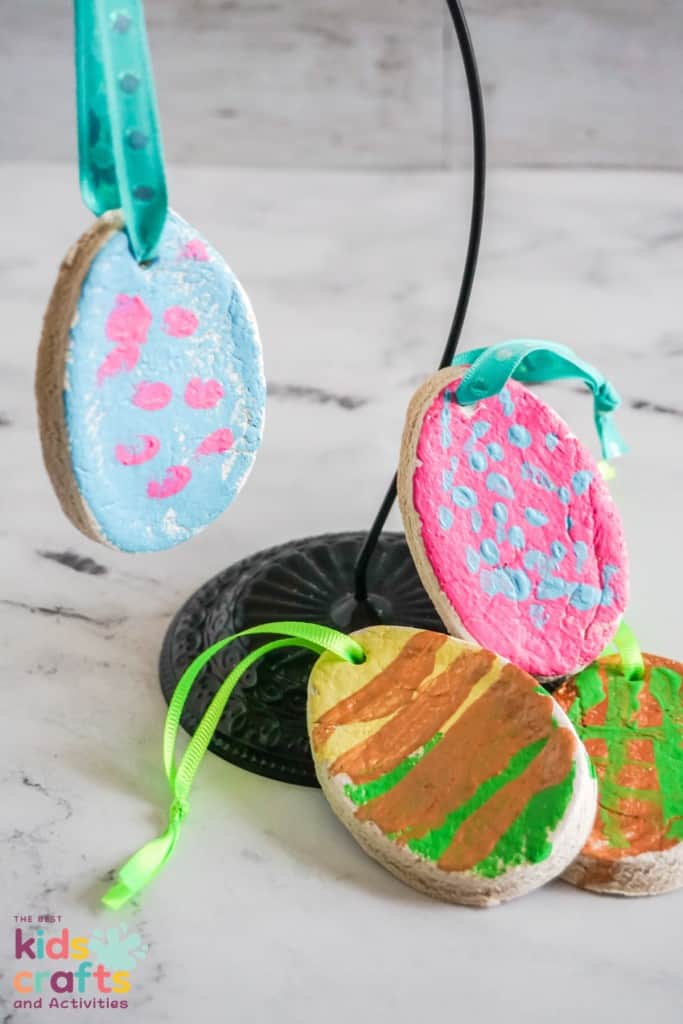
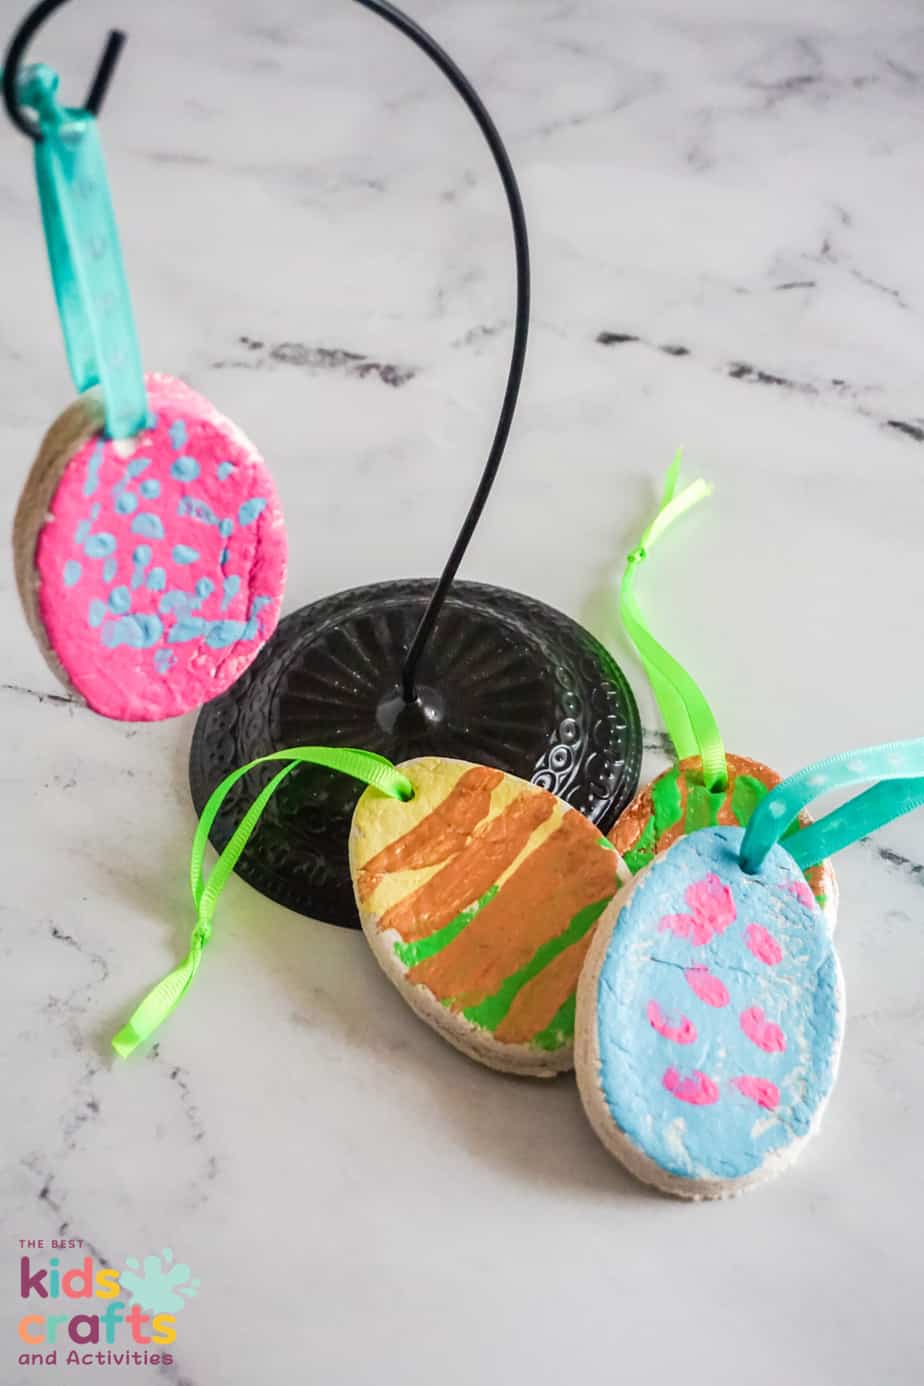
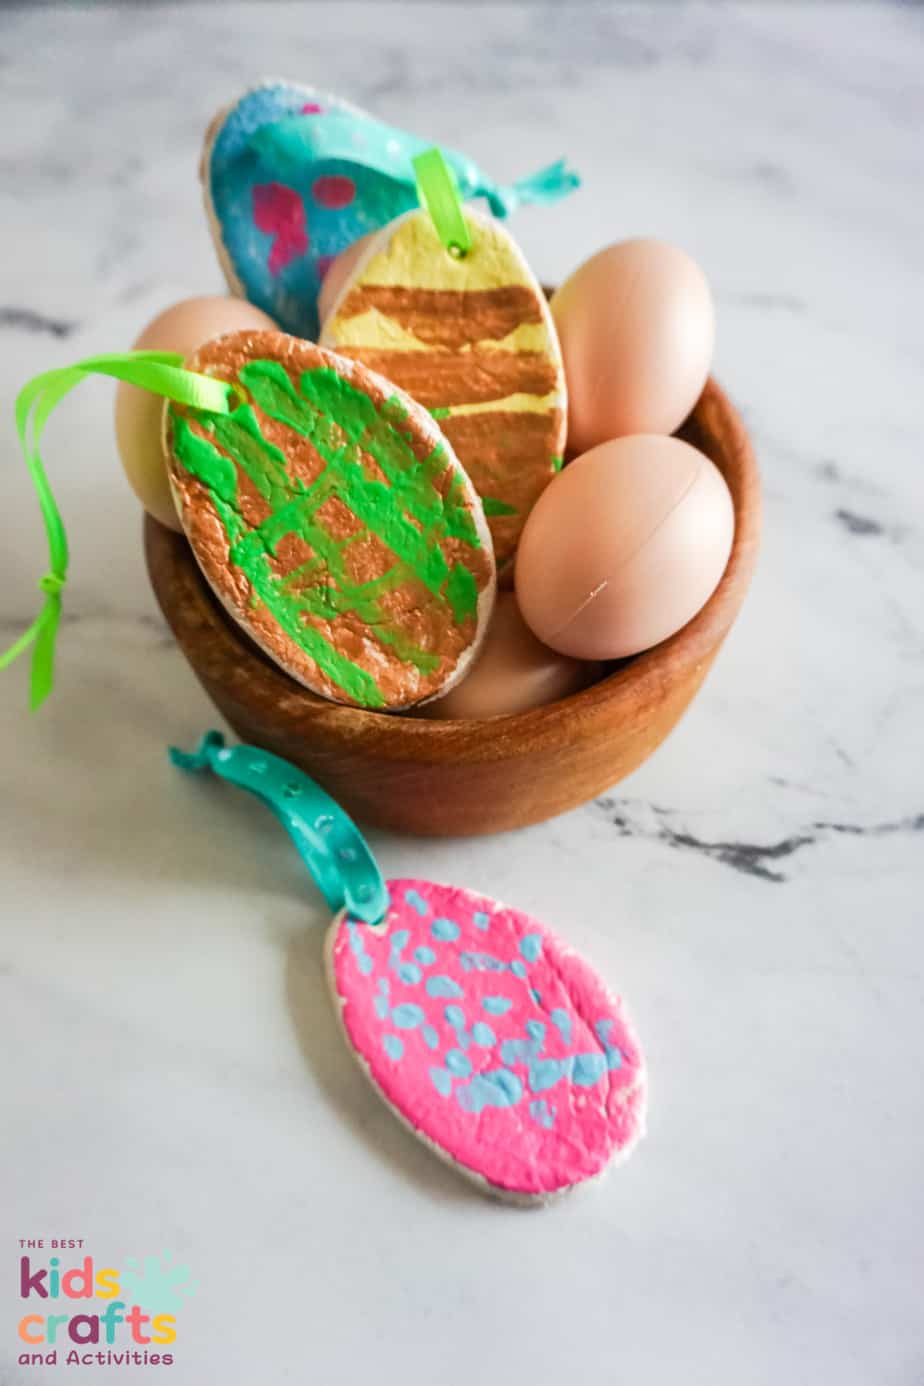
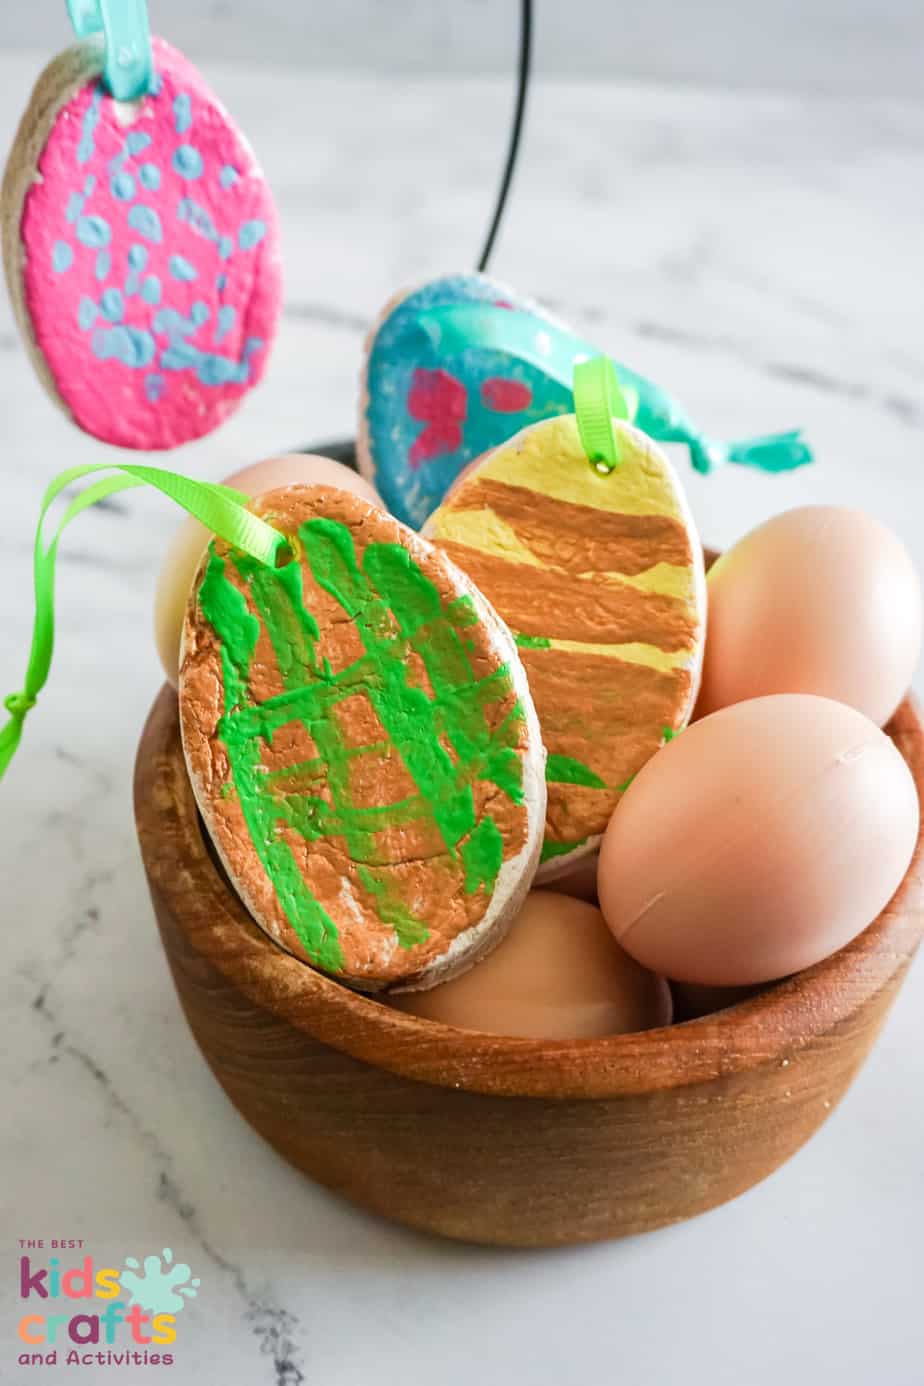
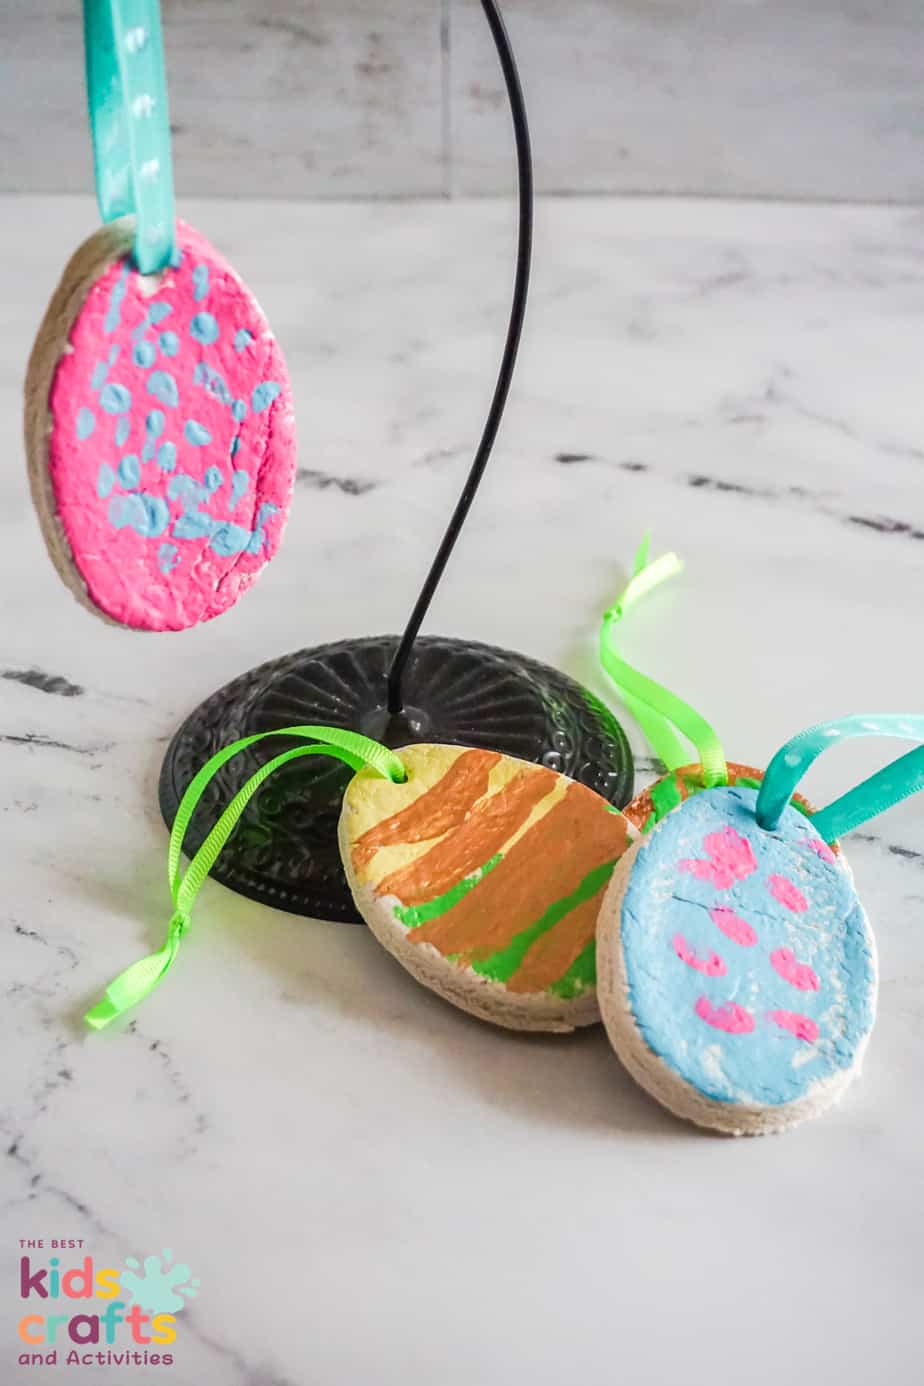
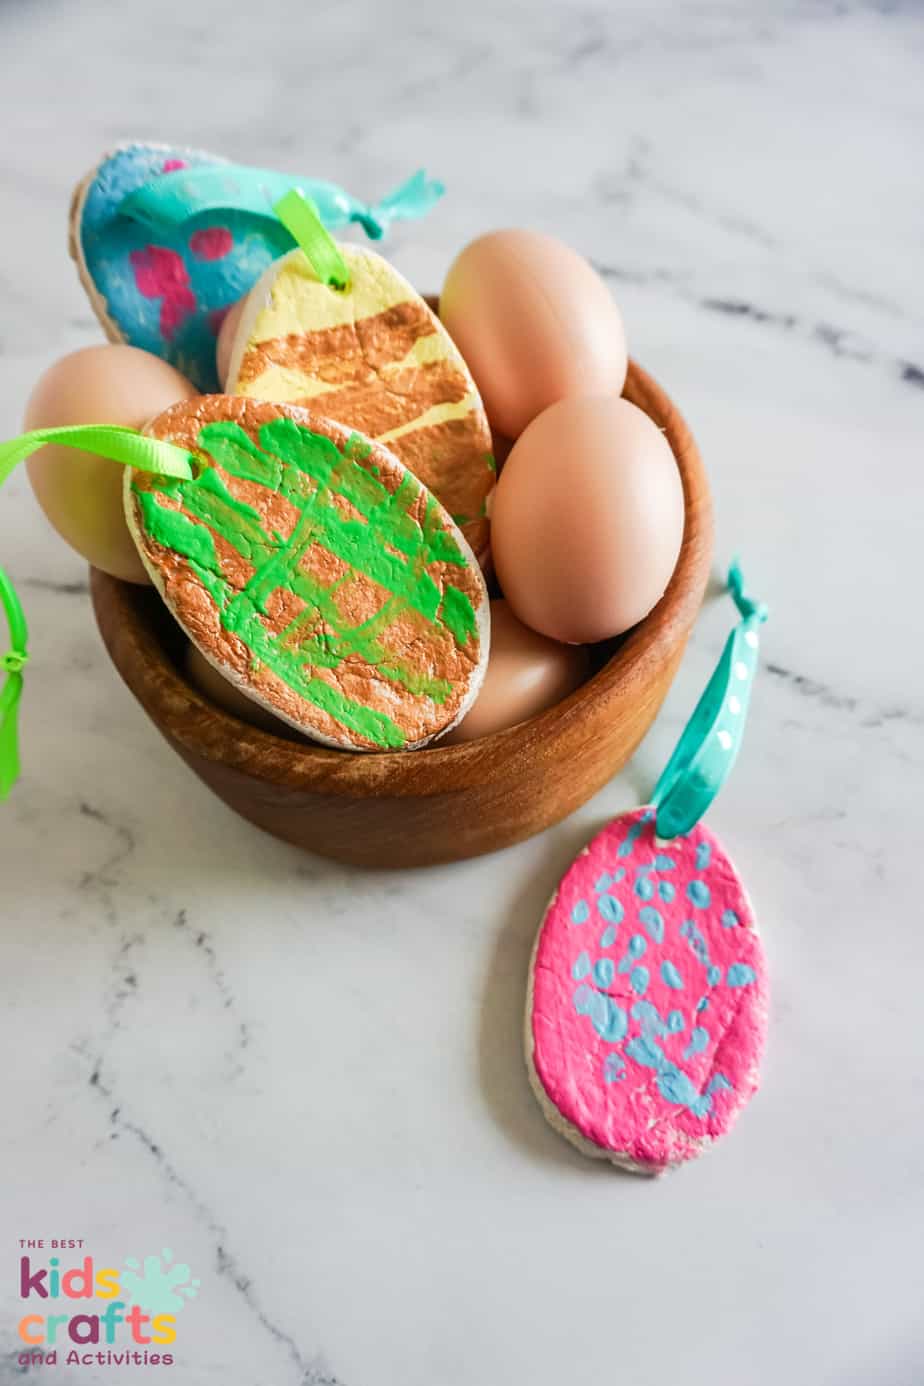
You can use these Salt dough Easter eggs to make ornaments (which needs to be done before baking them) or as a decoration that is set in a bowl.
How to Turn Salt Dough Easter Eggs into Garland
I love decorating the house with things the kids make, so while I love making Easter Egg Garland with plastic eggs I love it even more when I can make decorations with things the kids have made. To turn these into garland make the hole in the top like you would to make an ornament before baking. Then once the salt dough eggs are baked, allow them to cool and string them on a ribbon.
How to Cut shapes out of Salt Dough
After making the salt dough, use a rolling pin to roll the dough out to 1/4 inch thick. Then use cookie cutters to cut the shapes out that you want.
What is the Best Paint for decorating Salt Dough Ornaments?
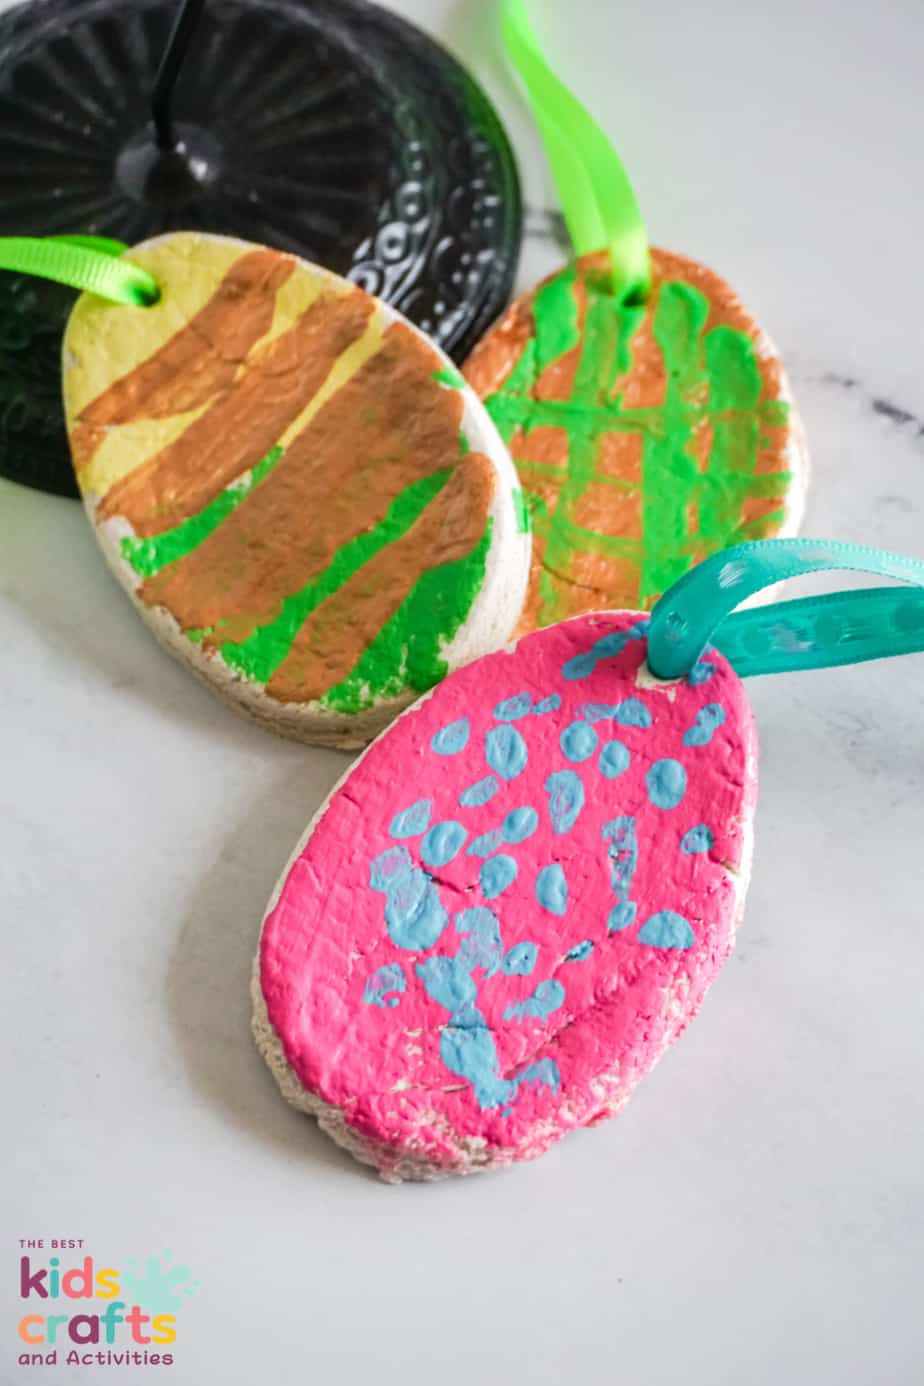
You can use any paint including spray paint, acrylic paint, or washable paint to decorate the ornaments. Paint pens are great if you are wanting to have less mess, but I prefer setting up a plate with different colored paints so the kids can decorate the ornaments however they want to. To protect the paint after it has dried I like to put on a clear coat sealer.
How to Store Salt Dough Ornaments
After making the ornaments and then having them out as decorations if you are like me you will want to keep them for years. Wrap the ornaments in bubble wrap and store in a box where they will not be exposed to moisture or be bumped around in the box.
Tips for Making Salt Dough
- Mix ingredients thoroughly. When you are mixing the flour, water and salt to form the dough make sure everything is mixed well.
- Even thickness of the dough. You want all of the ornaments to be the same thickness when you make them so they all dry out evenly when in the oven. You will know they are done when they are hard to the touch without any give when pressed on. If the ornaments are thicker they may need a longer time in the oven.
- Allow the salt dough to dry out thoroughly (baked in the oven) before you paint them.
- Allow the paint to dry completely before putting on a protective spray coating or packaging them up in a storage box.
- Use spray paint or acrylic paint for older kids, and if you have younger kids use washable paint.
- Use twin or ribbon for making them into ornaments.
- Poke the hole in the top of the easter egg before baking if you are wanting them to be ornaments where you can put a ribbon or twin thru the top hole.
Salt Dough Easter Eggs Supplies
- 4 cups Flour
- 1 cup Salt
- 1 ½ cups Water
- Paint
- large Bowl
- Measuring Cups
- Rolling Pin
- Egg Cookie Cutters
- Straw
- Baking Sheet
- Parchment Paper
- Oven
How to Make Salt Dough Easter Eggs
Preheat your oven to 200 degrees and line the baking sheet with parchment paper and set aside.
Combine the flour, salt, and water stirring until the mixture becomes like a thick dough.
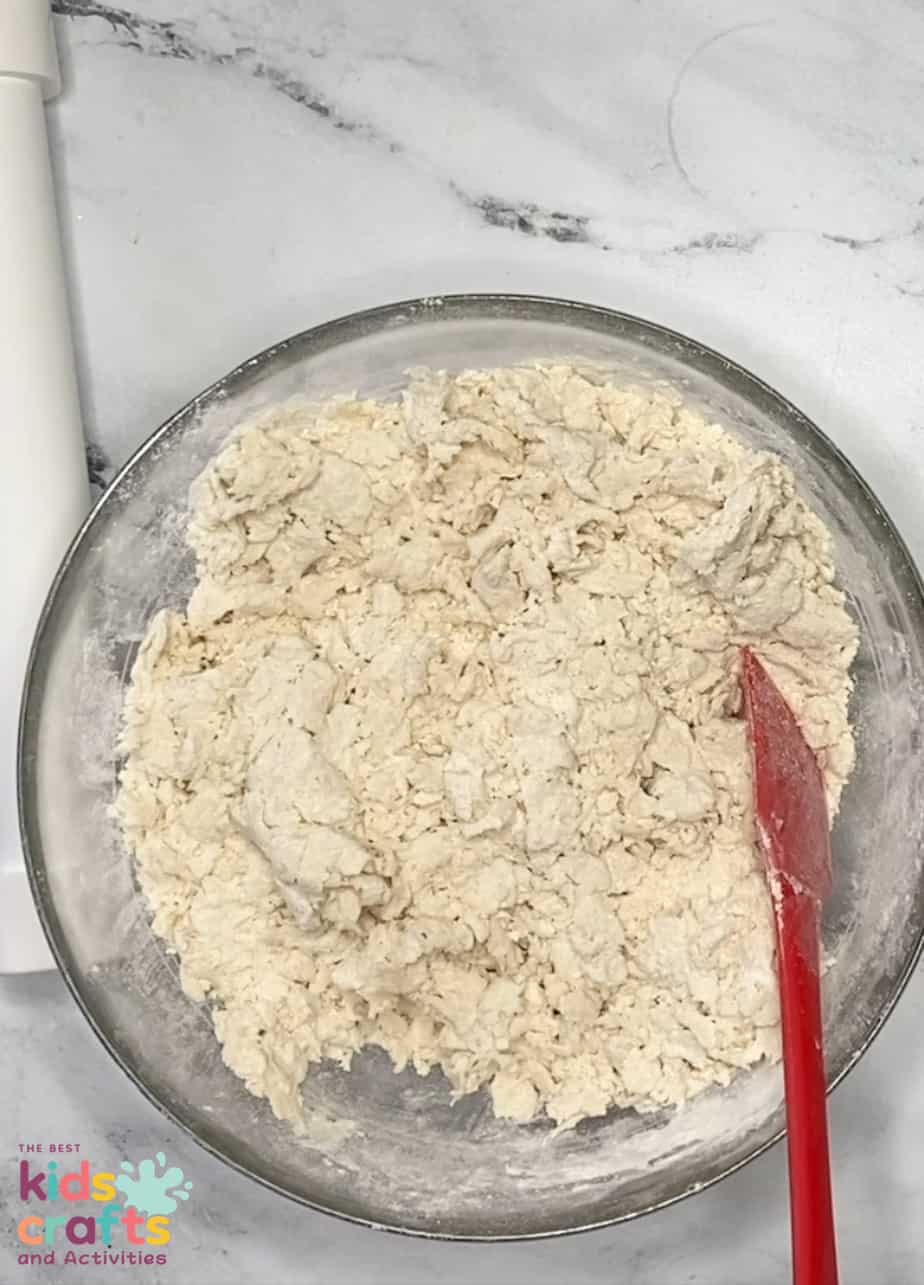
Remove the dough onto the counter top and knead with your hands until it’s consistent.
Roll the dough to a consistent thickness, no thicker than ¼-inch.
With the cookie cutters, cut out shapes, leaving the cookie cutters in place, preferably.
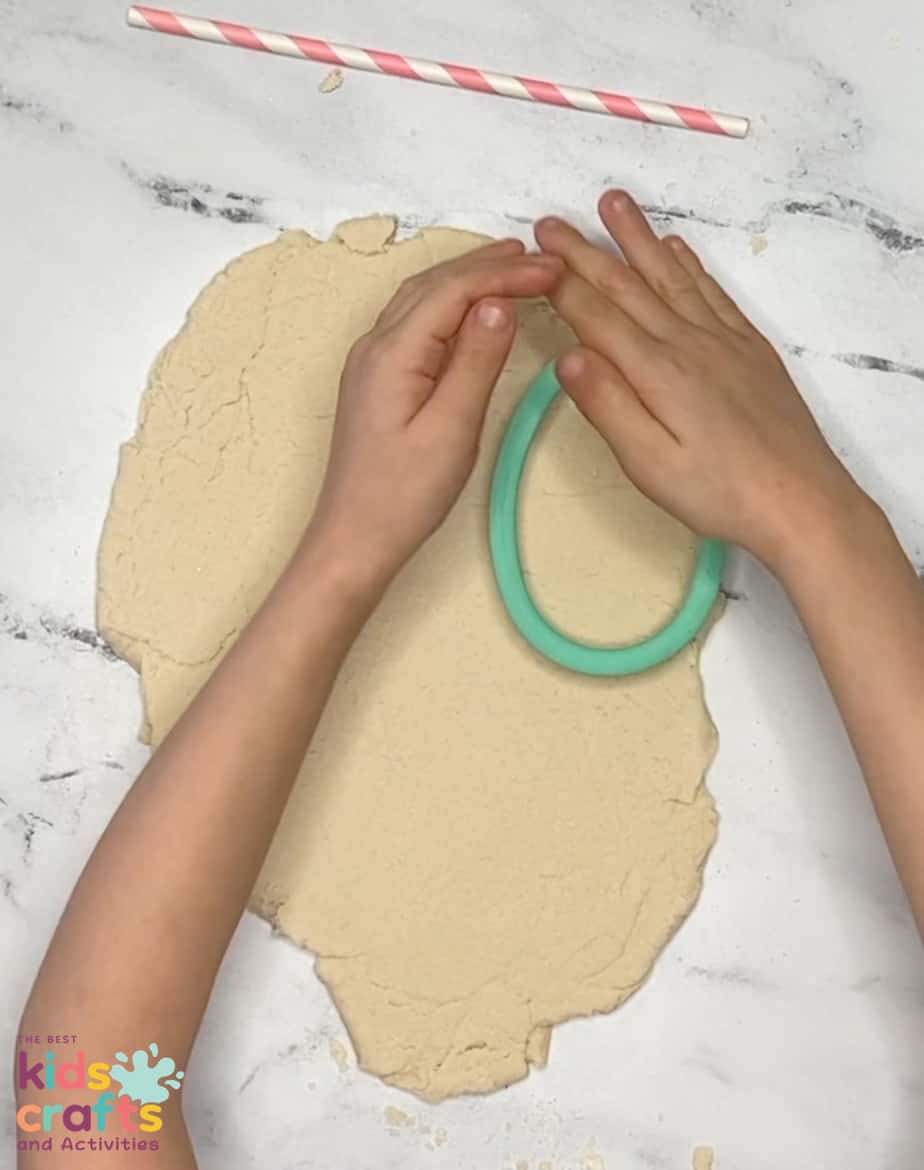
Use the straw to poke a hole into each of the cookie cutter shapes, about ½-inch from the edge, preferably.
Remove the portions of dough that are not the desired cookie cutter shapes.
Remove the cookie cutters.
Gently, using the spatula, transfer the cookie shapes from the table to the prepared baking sheet.
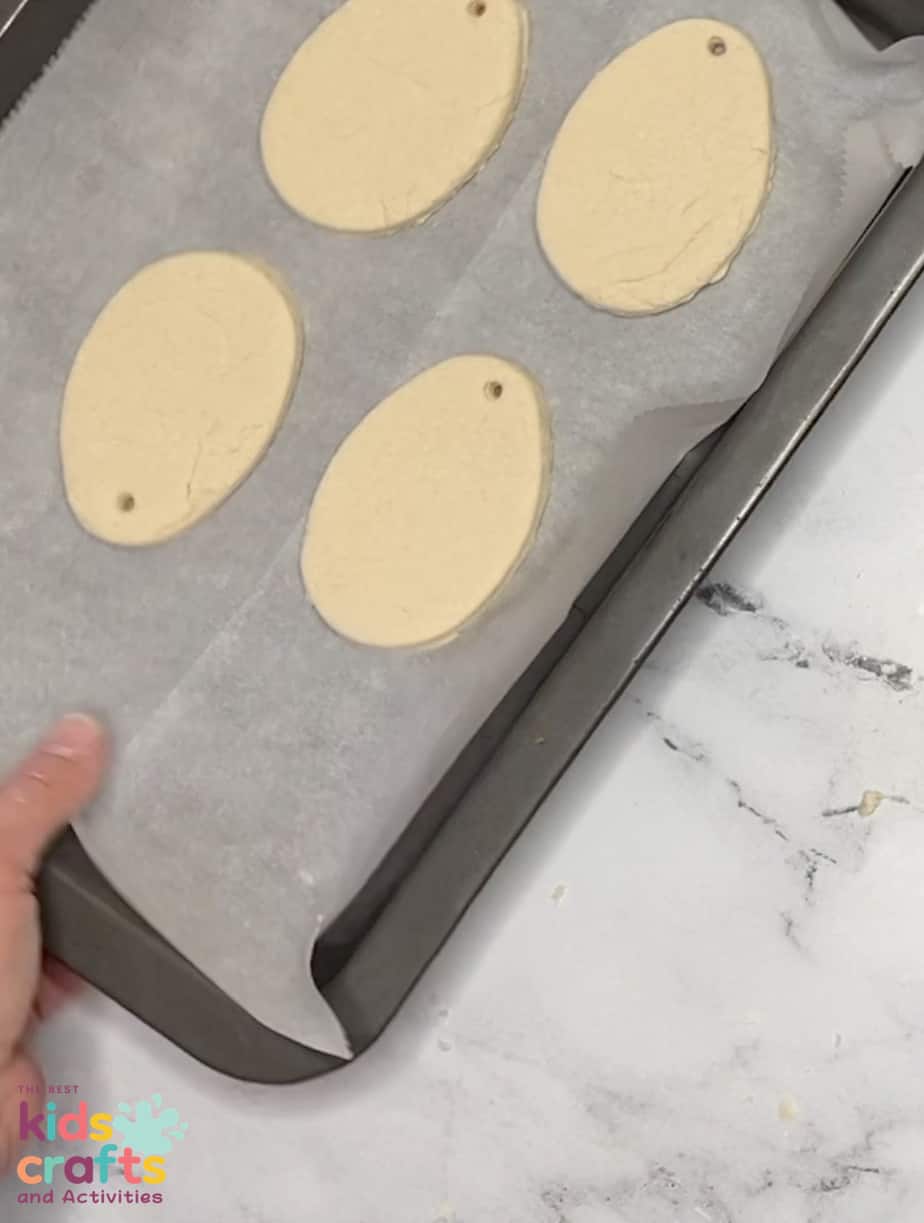
Place the baking sheet into the oven for 2 ½ hours.
Remove the baking sheet from the oven and allow them to cool completely.
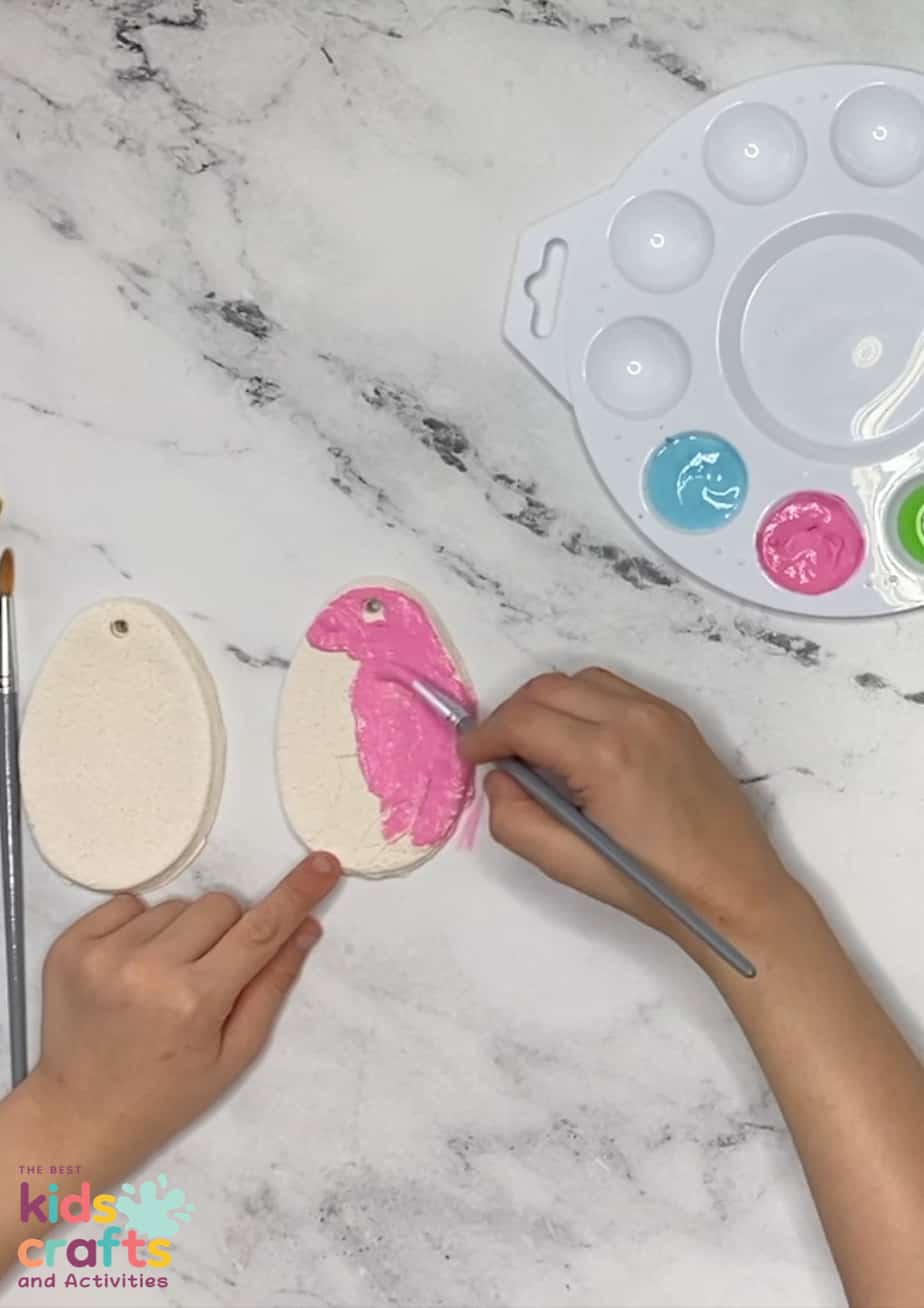
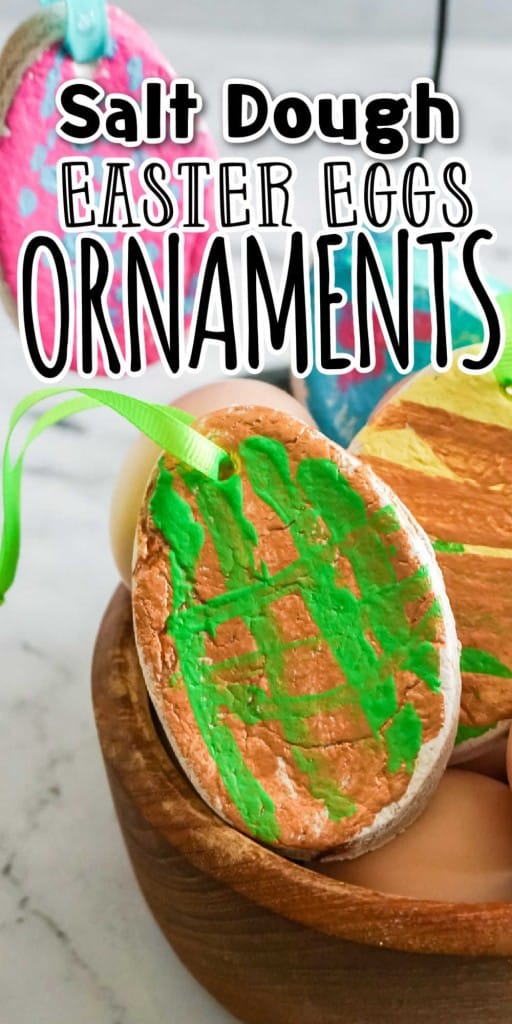
Paint the ornaments as desired and allow them to dry completely.
Thread a piece of ribbon through the hole and hang them.
Easter Recipes for Kids
- Peeps Cupcakes
- Easter Bunny Pudding Dessert Cups
- Bunny Donuts
- Easter Bunny Trail Mix
- Ressurection Biscuits

Salt Dough Easter Egg Ornaments
Equipment
- Paint
- large Bowl
- Measuring Cups
- Rolling Pin
- Egg Cookie Cutters
- Straw
- Baking Sheet
- Parchment Paper
- Oven
Ingredients
- 4 cups Flour
- 1 cup Salt
- 1 ½ cups Water
Instructions
- Preheat your oven to 200 degrees and line the baking sheet with parchment paper and set aside.
- Combine the flour, salt, and water stirring until the mixture becomes like a thick dough.
- Remove the dough onto the counter top and knead with your hands until it’s consistent.
- Roll the dough to a consistent thickness, no thicker than ¼-inch.
- With the cookie cutters, cut out shapes, leaving the cookie cutters in place, preferably.
- Use the straw to poke a hole into each of the cookie cutter shapes, about ½-inch from the edge, preferably.
- Remove the portions of dough that are not the desired cookie cutter shapes.
- Remove the cookie cutters.
- Gently, using the spatula, transfer the cookie shapes from the table to the prepared baking sheet.
- Place the baking sheet into the oven for 2 ½ hours.
- Remove the baking sheet from the oven and allow them to cool completely.
- Paint the ornaments as desired and allow them to dry completely.
- Thread a piece of ribbon through the hole and hang them.