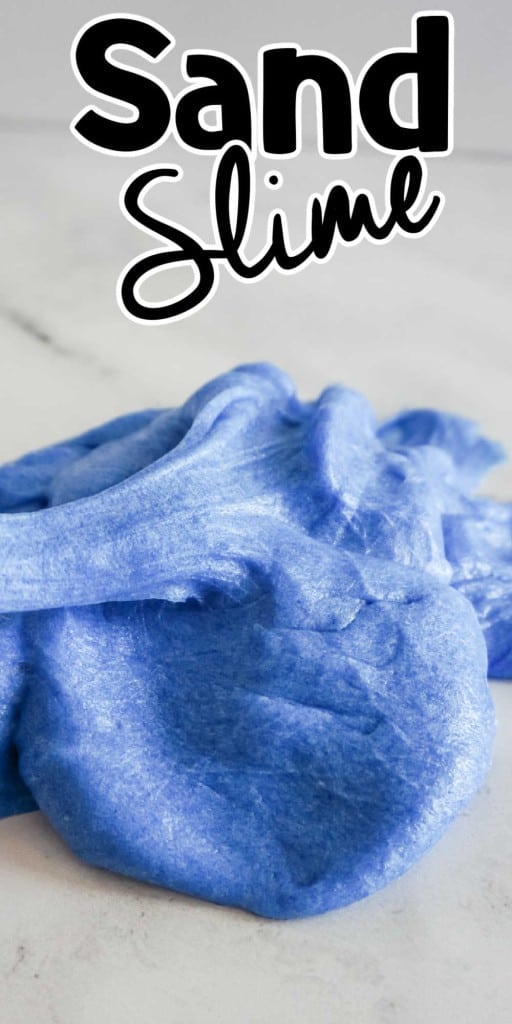

How to Make Sand Slime. Sand slime is something that is popping up all over the place in the stores and for good reason. It is a TON of fun to play with! The good news is that it is so easy to make at home and you can make it for a fraction of the price you will pay for it in the store. The kids will love making this sand slime recipe, it’s fun to make and fun to play with.
How to Make Sand Slime
Slime is one of the best things to make with your kids. It starts out as a science experiment and then it turns in to hours of hands on fun play time. The slime ideas and possibilities are basically endless and you can make so many different themes for slime that if you are a homeschool family it is perfect for using with your homeschool lessons for little kids. If you are not a homeschooling family then it is pure fun that the kids are sure to love!
What is sand slime?
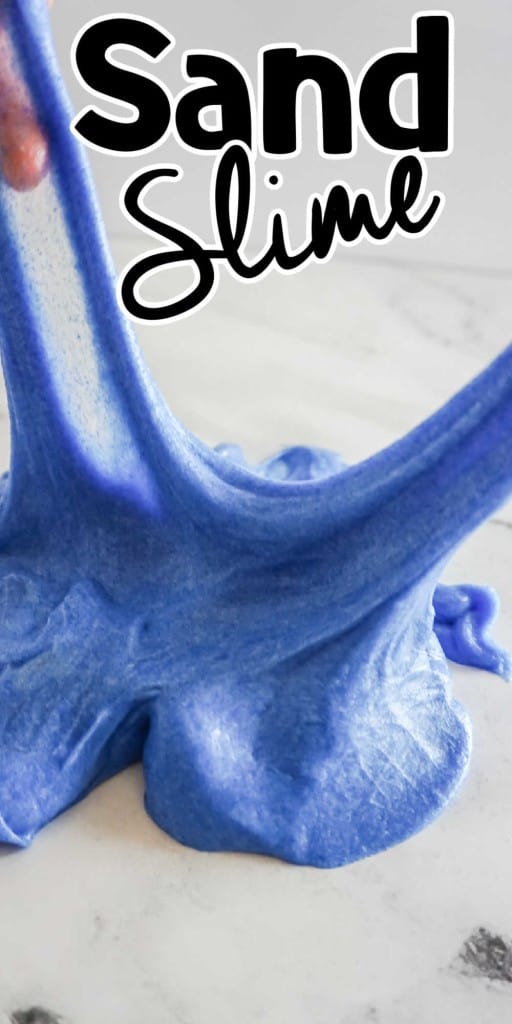
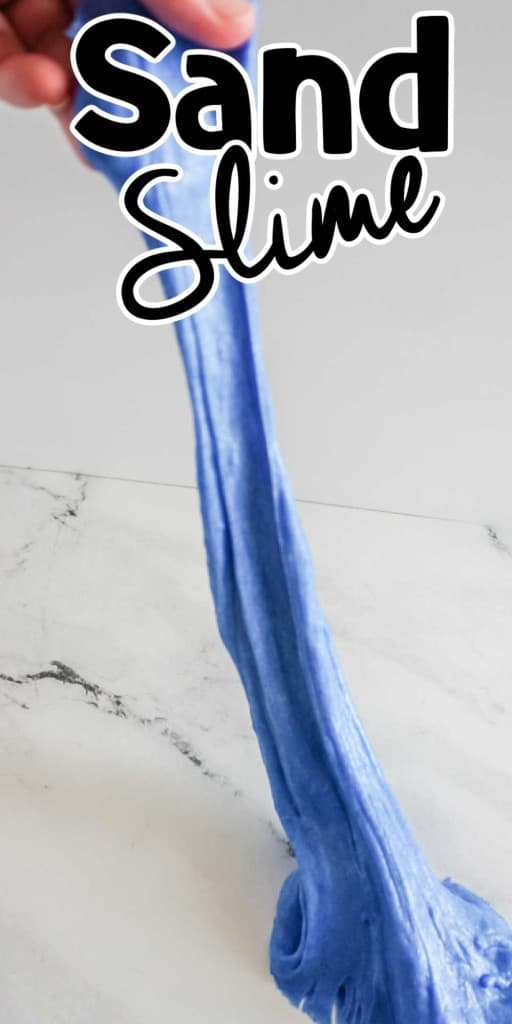
Sand slime is stretchy slime that has the addition of sand that gives it more texture, more fun to play with and perfect for getting some hands on fun with the kids.
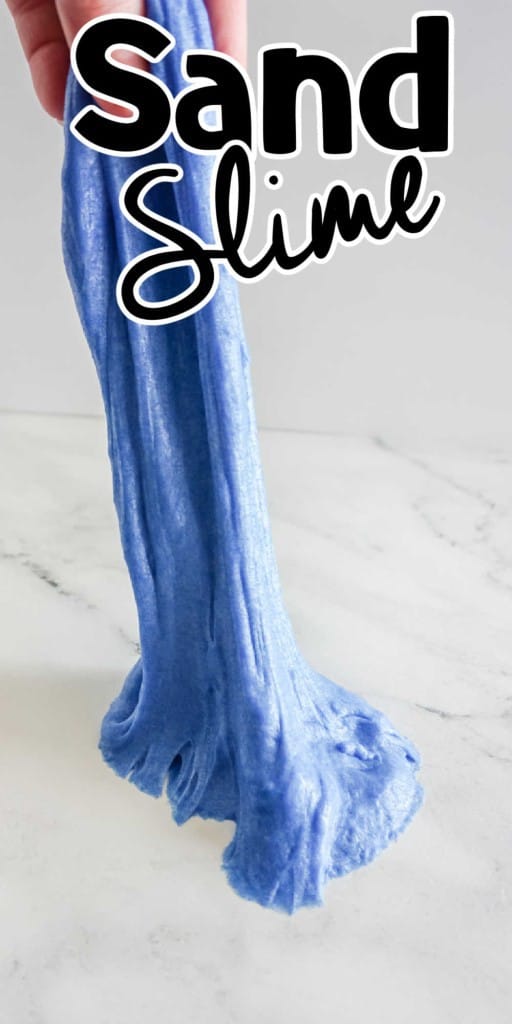
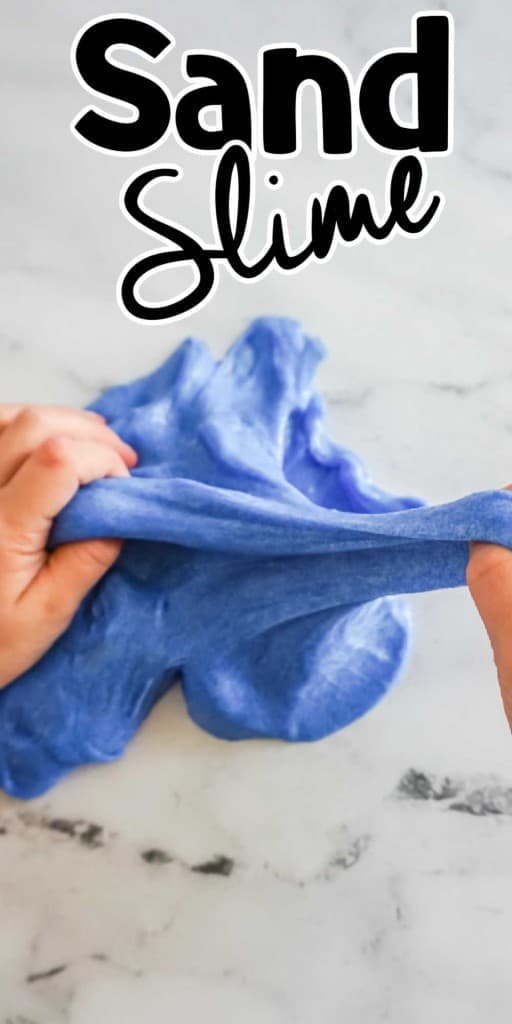
The resulting sand slime has a fascinating texture that combines the stretchy and moldable nature of slime with the grainy, flowing properties of kinetic sand. It can be squished, stretched, molded into shapes, and even imprinted with objects. Sand slime provides a unique tactile experience and is often used as a sensory play material or for stress relief.
What Sand can be used for sand slime?
A few different types of sand can be used interchangeably to create sand slime, depending on personal preference and availability. It’s important to note that the texture and properties of the sand will affect the final consistency of the slime. Experimenting with different types of sand can help achieve the desired result and be fun to experiment with. Here are the types of sand commonly used for sand slime:
- Play sand: Play sand is another suitable option for sand slime. It is a clean, fine-grained sand that is often used in sandboxes and play areas. Play sand is typically free of impurities and safe for children to play with. Look for non-toxic, child-friendly play sand when using it for sand slime.
- Craft sand: Craft sand is a type of colored sand that is used for various art and craft projects. It is available in a wide range of vibrant colors and is often used in sand art, decorative vases, and other creative endeavors. Craft sand can be made from different materials, such as dyed quartz or dyed calcium carbonate.
- Beach sand: Beach sand, which is the natural sand found along beaches and shorelines, is generally not recommended for making sand slime. Beach sand often contains a mix of different particle sizes, including larger grains and shells, which may affect the desired texture and consistency of the slime. Additionally, beach sand may also contain salt, minerals, or other impurities that can interfere with the slime-making process.
The Science behind making slime
While slime is a fun activity to do with the kids it is also a science experiment. It is actually ALL science that makes slime actually work when you are making it. The science applies to both basic slime recipes and slime recipes like this one where we are adding things to it.
Slime is a special kind of gooey material that can stretch, squish, and mold. It’s made up of long chains of tiny molecules called polymers. Think of these chains as a bunch of small beads all linked together.
When we mix glue with something called an activator, like borax, sodium borate or baking soda mixed with water, it causes a reaction. This reaction connects the chains of polymers, kind of like holding hands, and turns the liquid glue into a solid and stretchy slime.
The glue in slime is like the spaghetti noodles, and the activator is like the sauce that makes them stick together. The more activator we add, the more the chains of polymers stick together, making the slime thicker and stretchier.
When we play with homemade slime, we can squeeze it, stretch it, or shape it. It behaves differently depending on how we handle it. When we stretch slime slowly, it flows and acts like a liquid. But if we pull it quickly or apply more force, the slime becomes more solid and doesn’t flow as easily.
Slime is what we call a non-Newtonian fluid, which means it doesn’t follow the normal rules of liquids or solids. It can change its behavior depending on how we interact with it.
The science behind slime is a lot of fun to explore. By trying different ingredients and ratios, we can create slime with different textures and properties. It’s a hands-on way to learn about polymers, reactions, and how materials can have unique characteristics.
So, when you make slime, remember that it’s all about connecting those polymer chains and exploring how they behave when we play with them.
Tips for Making The Best Slime
Slowly add the contact solution into the glue. Adding it in too quickly causes it to get firm. You may not use all of the contact solution or you might need a little bit more contact solution to get the consistency the way you like it.
Have special utensils for making slime. We have specific measuring cups, measuring spoons, spoons and bowls that we use to make slime with. Using the ones from your kitchen is not a good idea. You will want to use them to eat and slime is not something you want to be mixing with your food. We like using plastic spoons instead of metal ones when we are making slime. We find that it stirs better with a plastic spoon.
Have fun. The most important part of making slime is to have fun. Yes it gets messy, but that is a big part of the fun in making slime.
Wash your hands. This is especially important if you are making slime with preschoolers or toddlers. After they are done making the slime and playing with the slime it is important to wash your hands.
What is the difference between contact solution and Saline Solution when making slime?
When making slime, contact solution and saline solution can serve different purposes due to their varying compositions. Here’s the difference between using contact solution and saline solution in slime-making:
Contact Solution: Contact solution, specifically the type labeled as “multipurpose” or “for sensitive eyes,” often contains additional ingredients besides saline, such as borate or boric acid. These ingredients act as a slime activator by reacting with the glue to create the desired slime consistency. The borate ions in contact solution help to cross-link the polymer chains in the glue, resulting in a stretchy and cohesive slime.
When making slime, contact solution can be used as an activator to transform the glue into the desired slime texture. It helps the slime mixture bind together and achieve the proper elasticity. It’s important to check the ingredients list of the contact solution and ensure it contains the necessary activator ingredients (borate or boric acid) for making slime.
Saline Solution: Saline solution, on the other hand, is a simple saltwater solution containing sodium chloride dissolved in water. It is typically used for medical purposes, such as cleaning wounds or rinsing the eyes. Saline solution does not usually contain the specific activator ingredients necessary for making slime.
While saline solution alone may not provide the required slime activation properties, it can still be used in slime-making recipes in combination with other slime activators. For example, saline solution can be mixed with baking soda or liquid starch, which are alternative slime activators, to achieve the desired slime consistency.
Is Slime messy?
Now I know the first thing a lot of people ask when they hear about making slime is, Is making slime messy? Well it is but it is a TON of fun too! The next question I get asked is How do you make slime? It is REALLY easy to make slime as long as you follow the directions that we give you.
How to remove Slime from Carpets
Removing slime from carpets can be a bit challenging, but here’s a step-by-step guide to help you tackle the task:
- Act quickly: It’s best to address the slime spill as soon as possible. The longer the slime sits on the carpet, the more it can penetrate and dry, making it harder to remove.
- Gently remove excess slime: Use a spoon or a dull knife to scrape off any excess slime from the carpet. Be careful not to rub or push the slime further into the carpet fibers.
- Prepare a cleaning solution: Mix a solution of warm water and mild liquid dish soap. You can use about 1 tablespoon of dish soap for every cup of warm water. Stir the solution gently to create a soapy mixture.
- Test in an inconspicuous area: Before applying the cleaning solution to the stained area, test it in a small, inconspicuous spot on the carpet to ensure it doesn’t cause any discoloration or damage.
- Apply the cleaning solution: Using a clean cloth or sponge, dab the cleaning solution onto the slime stain. Avoid rubbing the carpet vigorously, as this can push the slime deeper into the fibers.
- Gently agitate the stain: After applying the cleaning solution, gently work it into the slime stain using a soft-bristled brush or your fingertips. Be careful not to scrub too hard, as it can damage the carpet fibers.
- Blot the stain: Use a clean, absorbent cloth or paper towel to blot the stained area. Press down firmly to absorb the moisture and lift the slime residue from the carpet. Continue blotting until no more slime transfers onto the cloth.
- Rinse with clean water: Dampen a clean cloth with plain water and blot the area to rinse out the cleaning solution. This helps remove any remaining soap residue.
- Dry the carpet: After rinsing, use a dry cloth or paper towels to blot the damp area and remove excess moisture. Allow the carpet to air dry completely.
- Vacuum the carpet: Once the carpet is dry, vacuum the area to restore its texture and remove any remaining traces of slime.
How to Store Slime
When you are done making your slime, store it in an airtight container. When you go to play with it again you may find a little bit of liquid in the container too. Just mix in the liquid back into the slime with your hands.
How to Make Slime Stretchy Again
If you are wanting to make it super stretchy after it has been stored in an airtight container, place it in warm water for 30 seconds to clean it up and get it stretchy again.
Supplies Needed for Slime
You will need a spoon and a bowl. I highly recommend having a separate craft bowl and spoon then what you use in your kitchen with food as you are using chemicals and you do not want them to mix with your food.
Sand Slime Ingredients
- 5 ounces Clear Glue. We have tried off brand glues and they are not the best for making slime, the only glue we like to use when making slime is Elmer’s glue.
- 1 tablespoon Baking Soda.
- 2 teaspoons Saline Solution. The brand of contact solution you use is not important, but you need to make sure that it has boric acid in it.
- 3-4 tablesppons Sand of choice
How to make sand slime
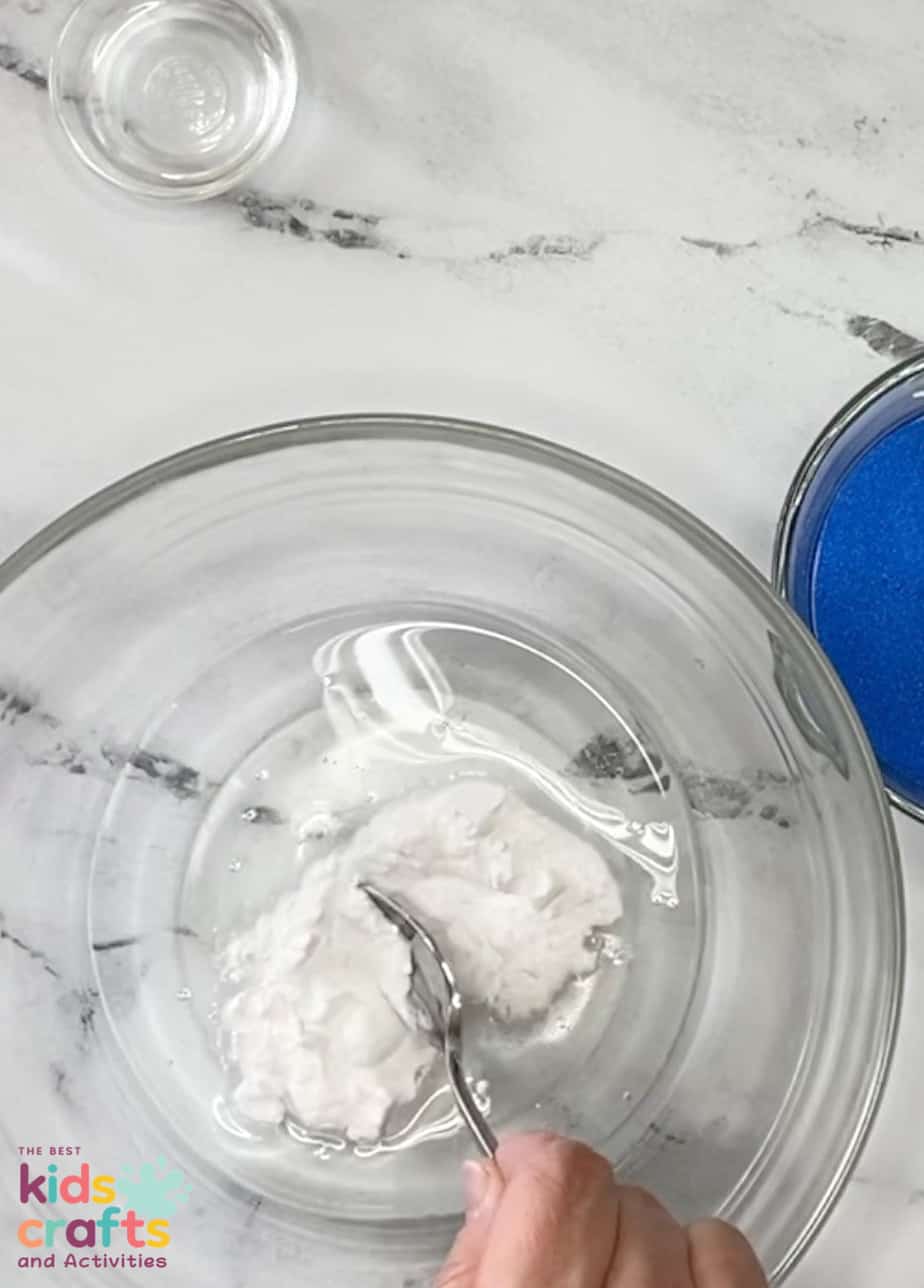
In a plastic, or glass bowl (one that you do not use for food) add the glue and the baking soda. Mix the glue and baking soda together until completely combined.
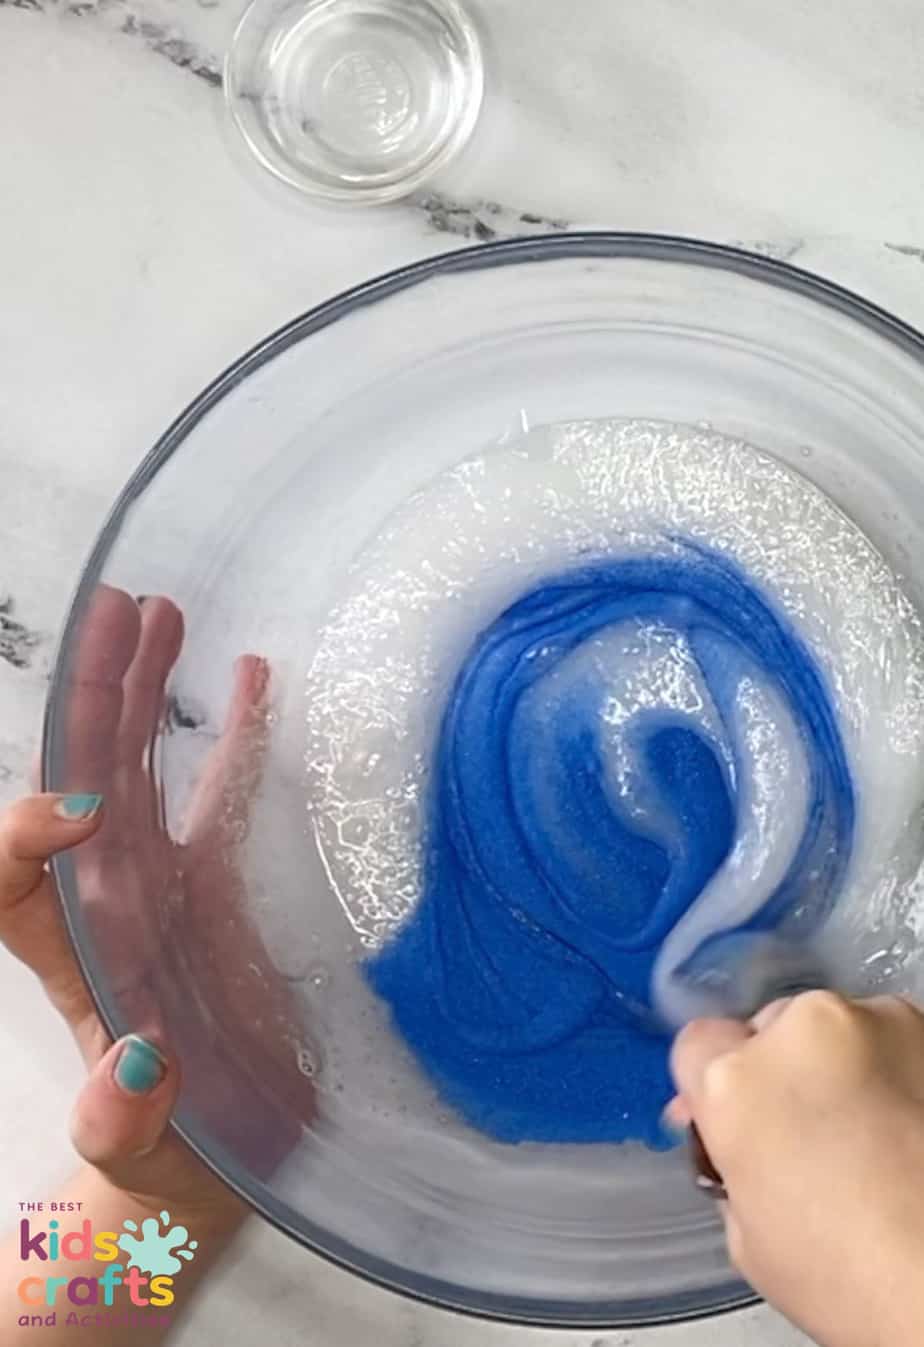
Add the saline solution and stir together until stiff and slime-like.
You want to add the saline to the glue slowly while the slime forms otherwise you will have slime that is too hard. If after adding the 2 teaspoons of saline solution the slime is still sticky and not forming, add a TINY amount of saline solution at a time until the slime has formed.
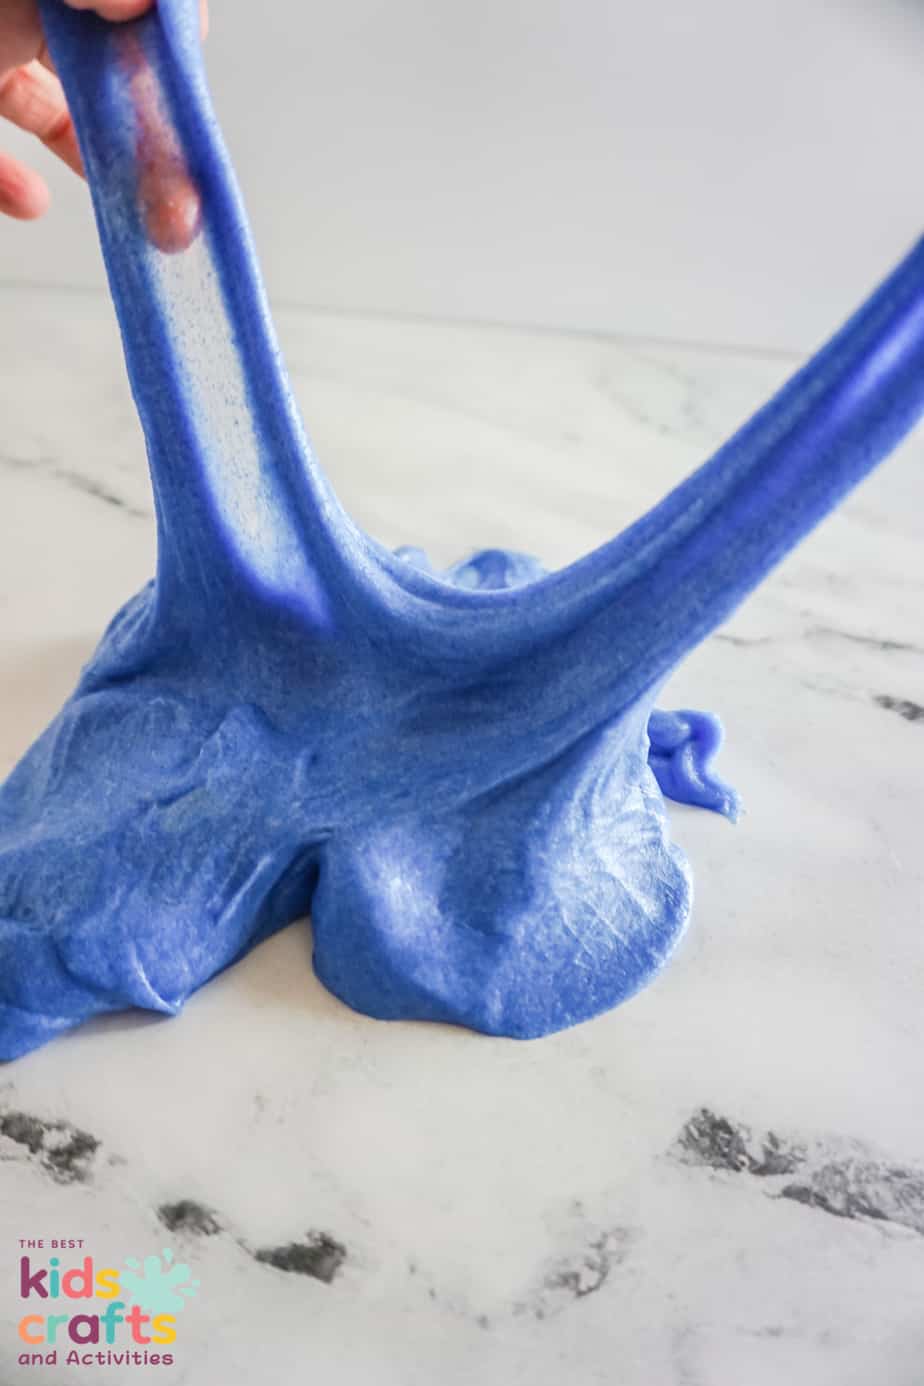
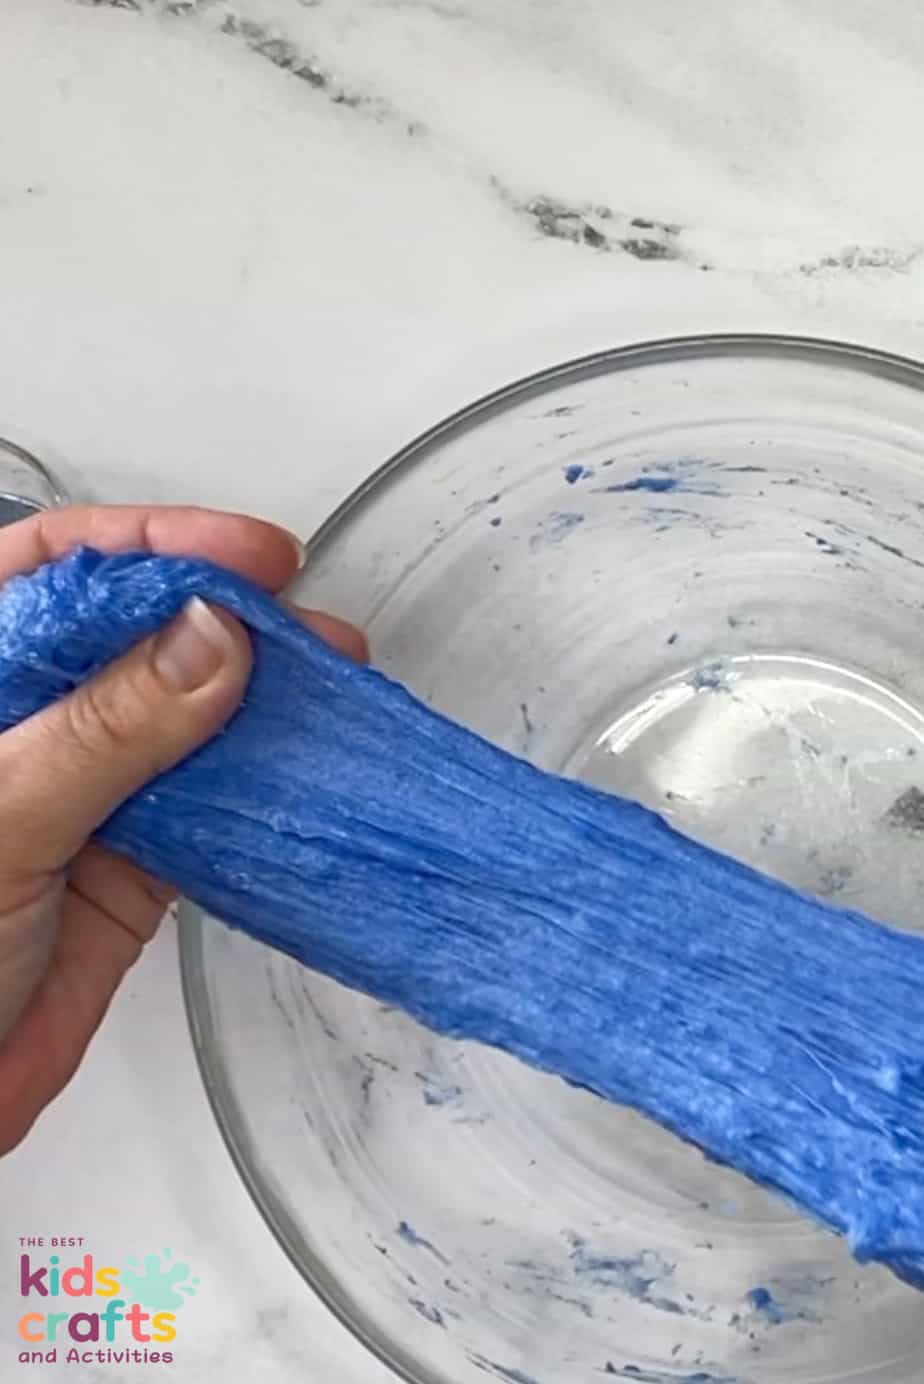
Add the sand 1 tablespoon at a time, working it in until you have reached the desired consistency.
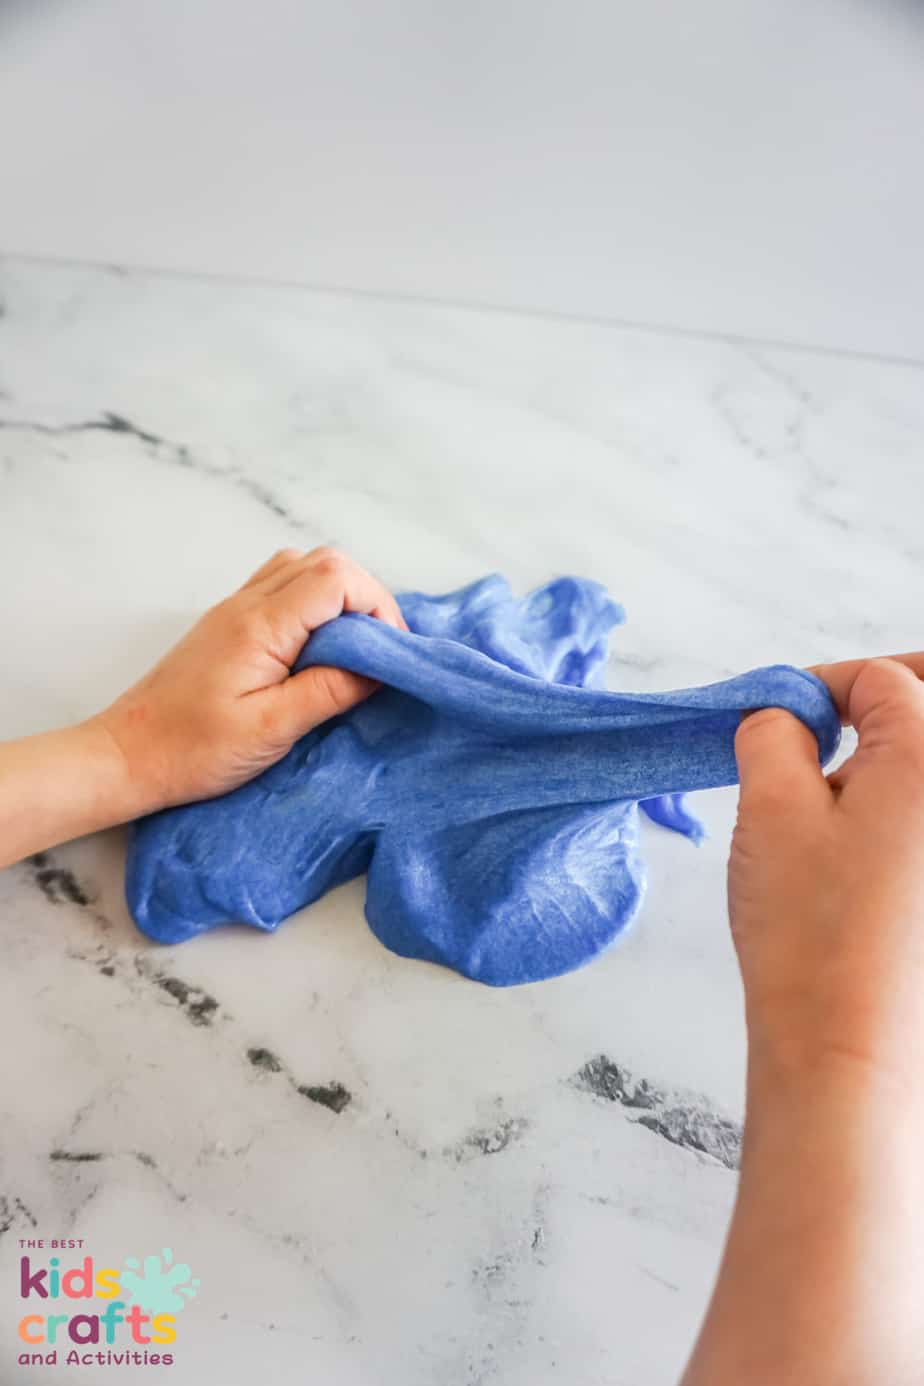
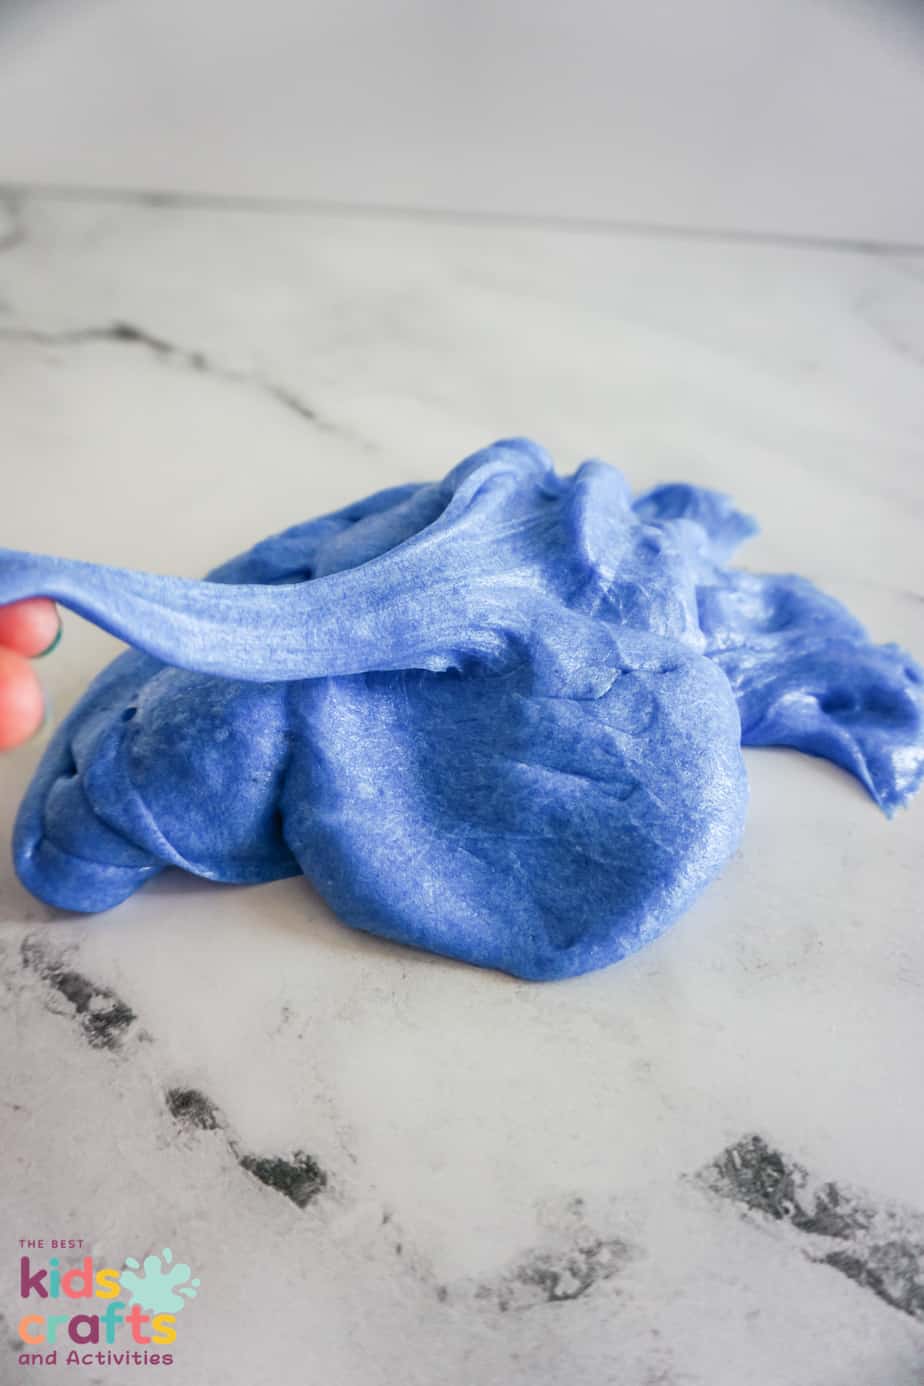
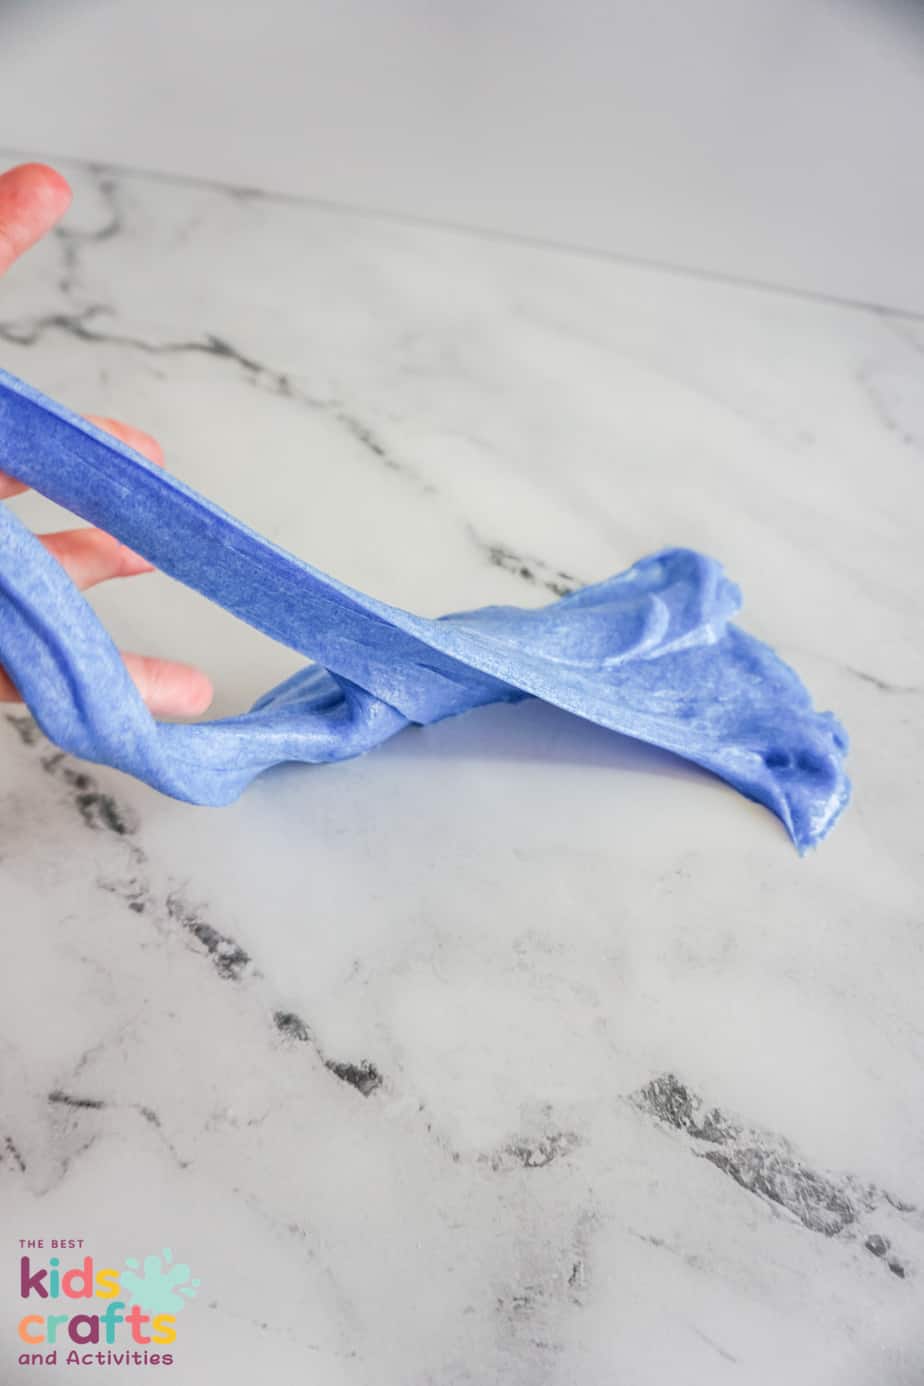
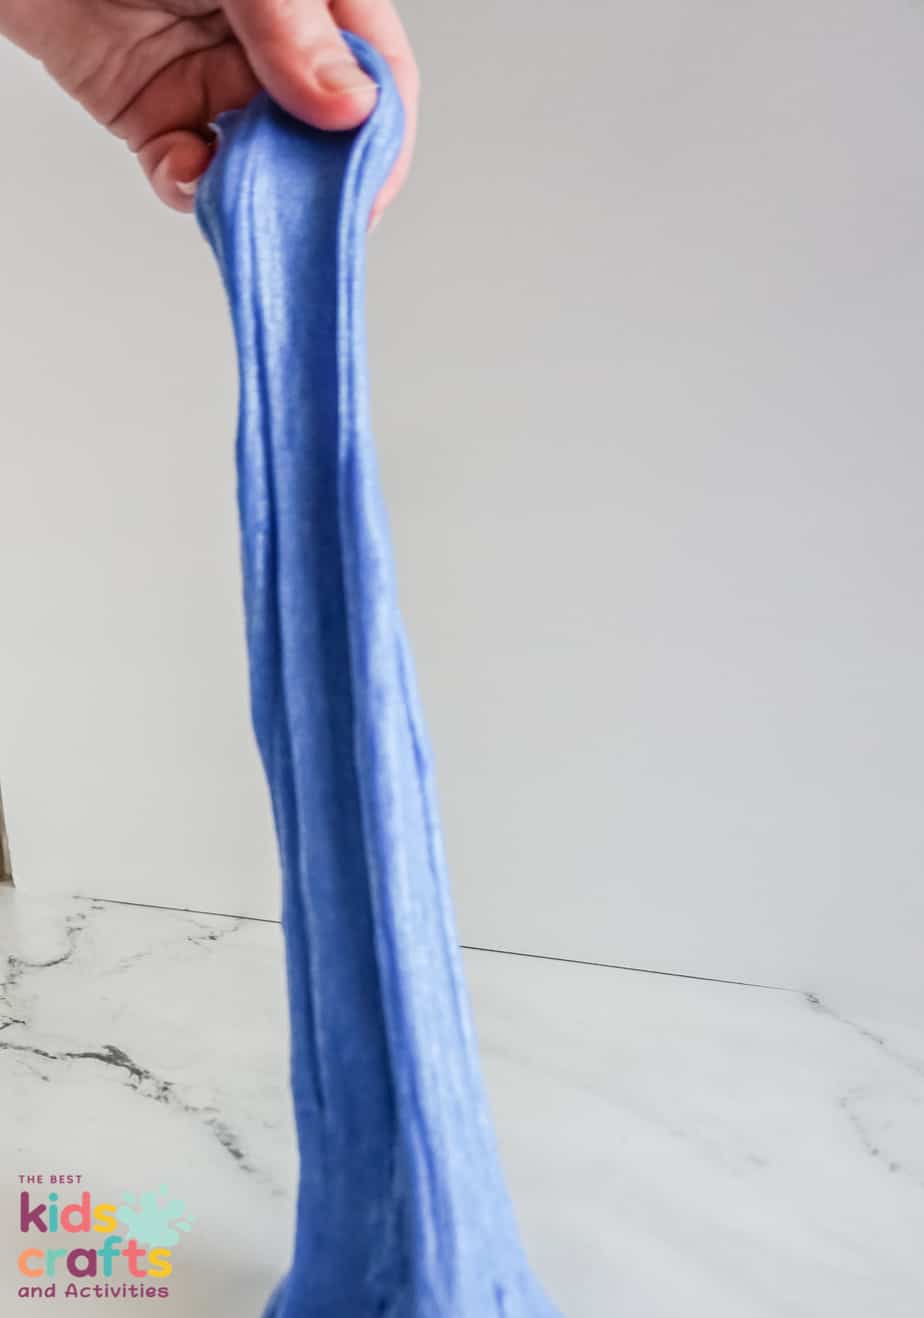
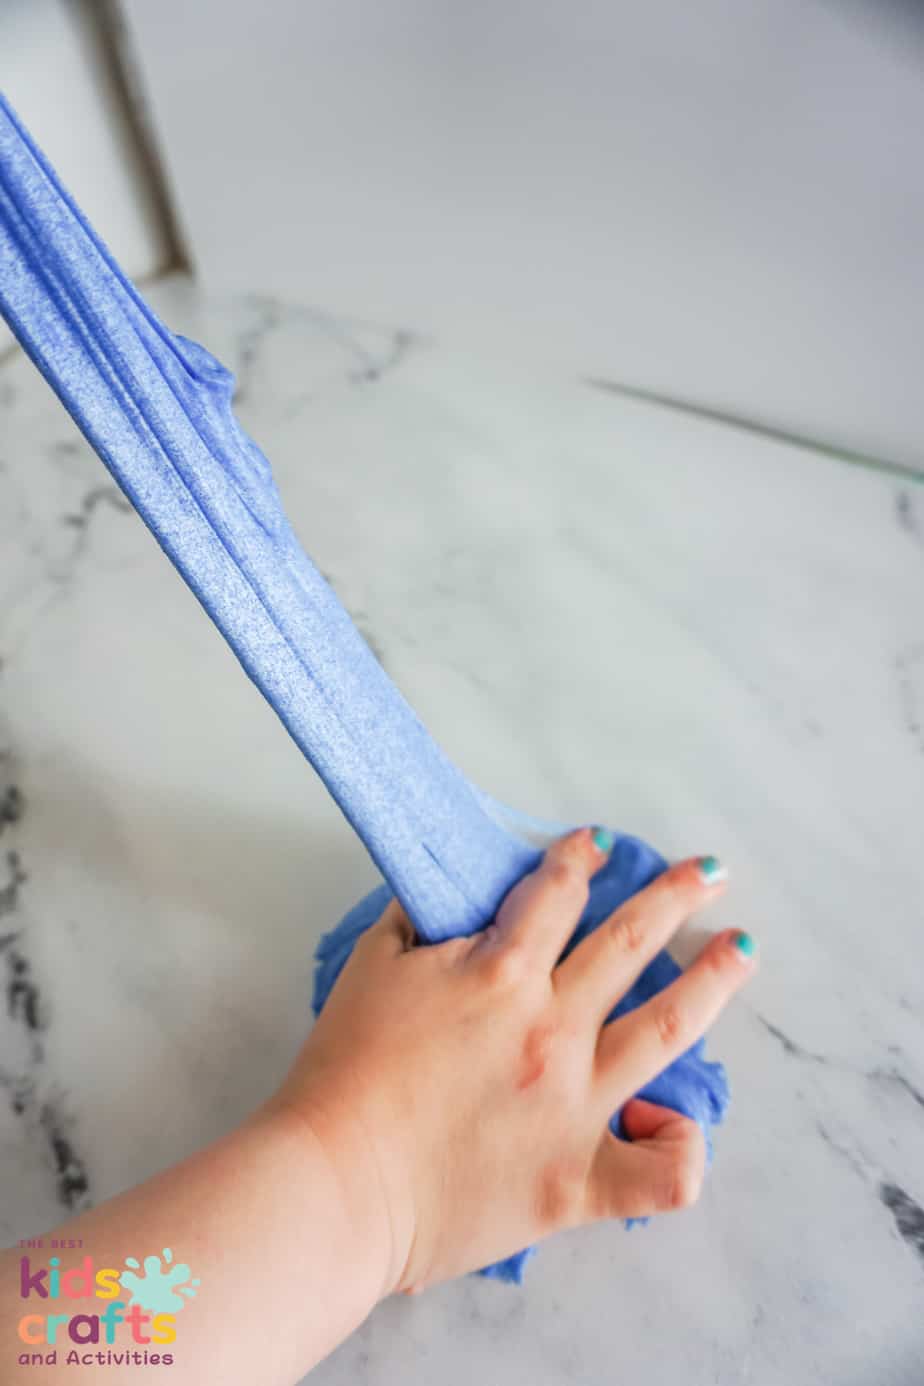
Once the slime has formed, remove it from the bowl and knead it and play with it.

Our Favorite Slime Recipes
- Color changing slime
- Galaxy Slime
- Glow in the Dark Slime
- Glitter Glue Slime
- Dinosaur Slime
- How to make Floam
- Ocean Slime

How to Make Sand Slime
Equipment
- 5 ounces Clear Glue.
- 1 tablespoon Baking Soda.
- 2 teaspoons Saline Solution.
- 3-4 tablesppons Sand of choice
Instructions
- In a plastic, or glass bowl (one that you do not use for food) add the glue and the baking soda. Mix the glue and baking soda together until completely combined.
- Add the saline solution and mix together until stiff and slime-like.
- You want to add the saline to the glue slowly otherwise you will have slime that is too hard. If after adding the 2 teaspoons of saline solution the slime is still sticky and not forming, add a TINY amount of saline solution at a time until the slime has formed.
- Add the sand 1 tablespoon at a time, working it in until you have reached the desired consistency.
- Once the slime has formed, remove it from the bowl and knead it and play with it